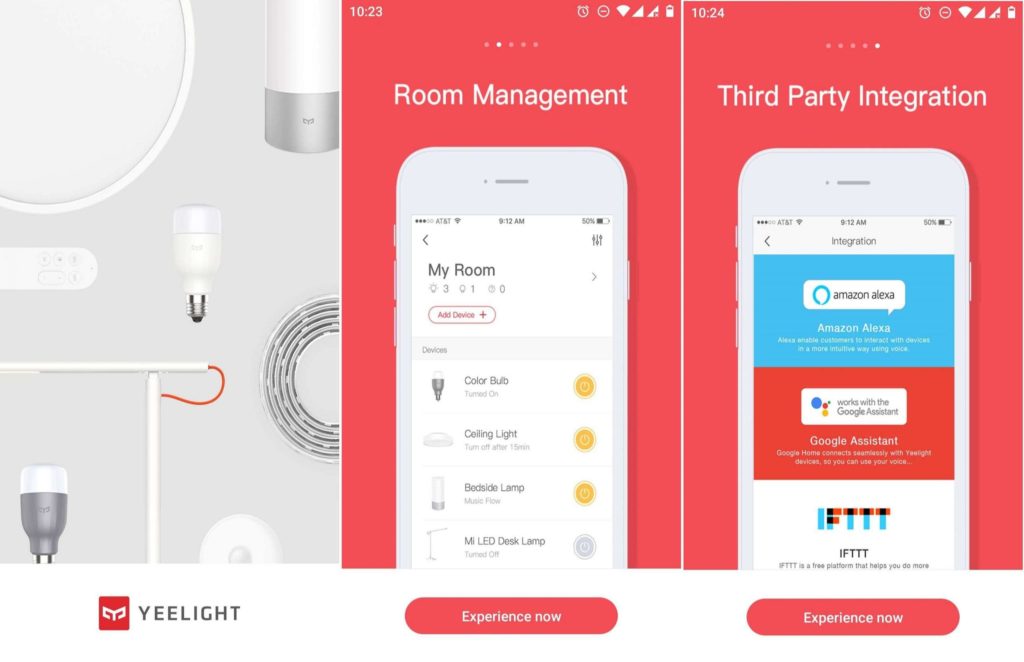
Much as you might not have heard of it, Yeelight is a household name when it comes to smart home lighting. The relatively upstart Chinese company is backed by none other than Xiaomi which explains why Yeelight has managed to upset a market dominated by seasoned heavy hitters like Philips. The competitively priced Yeelight bulbs are as good a place to kickstart your smart lighting experience as any. Let’s start our journey with the Yeelight Smart LED Bulb (Tunable White) and see where it takes us.
Yeelight Smart LED Bulb Features
The Tunable White Yeelight Smart LED Bulb is much heavier than the usual dumb bulbs, due to the smarts it’s packing. First off, it’s 2.4GHz WiFi enabled (802.11 b/g/n) and will remotely connect to your home network and the Yeelight mobile apps. The icing on the cake is that no hub is required to hook up the Yeelight smart bulb hence cutting down on complex networking procedures. The smart bulb falls within the 2700K to 6500K color temperature range (soft white to daylight). The brightness maxes out at 800 lumens, an equivalent of a 60-watt bulb. More to that, based on a usage of 3 hours a day, the Yeelight bulb is estimated to last 22.8 years. That will save you $1.2 annually in energy costs.
Yeelight mobile app
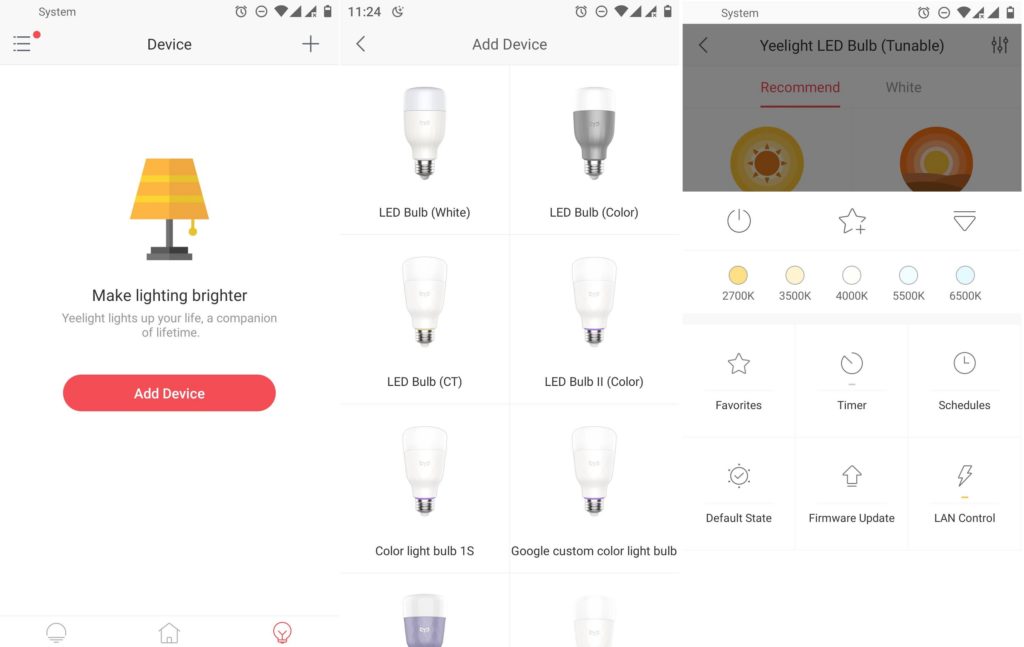
The mobile app is an integral part of the Yeelight Smart LED bulb. Available for both Android and iOS, it gives you added functionality you won’t get with any other 3rd party apps. The app opens to a Device screen listing all your Yeelight devices alongside a mobile on/off switch.
Tapping on a device lets you customize it. Dial left or right to increase or reduce the bulb brightness. If that’s too basic for you, the app also includes a preset color scheme to choose from. This comprises; Sunrise, Sunset, Tea Time, Reading, Night Mode, Home, Flash Notify and Candle Flicker. Alternatively, you could select a specific color temperature scheme from 2700K (warm) to 6500K (cool).
Digging deeper into the app reveals the ability to set a timer, schedule lights on/off, set favorite schemes or a default state upon power resumption. There’s also the option to allow LAN control to enable third-party apps to discover and control the Yeelight smart bulb from within their respective apps.
Installation & Usage
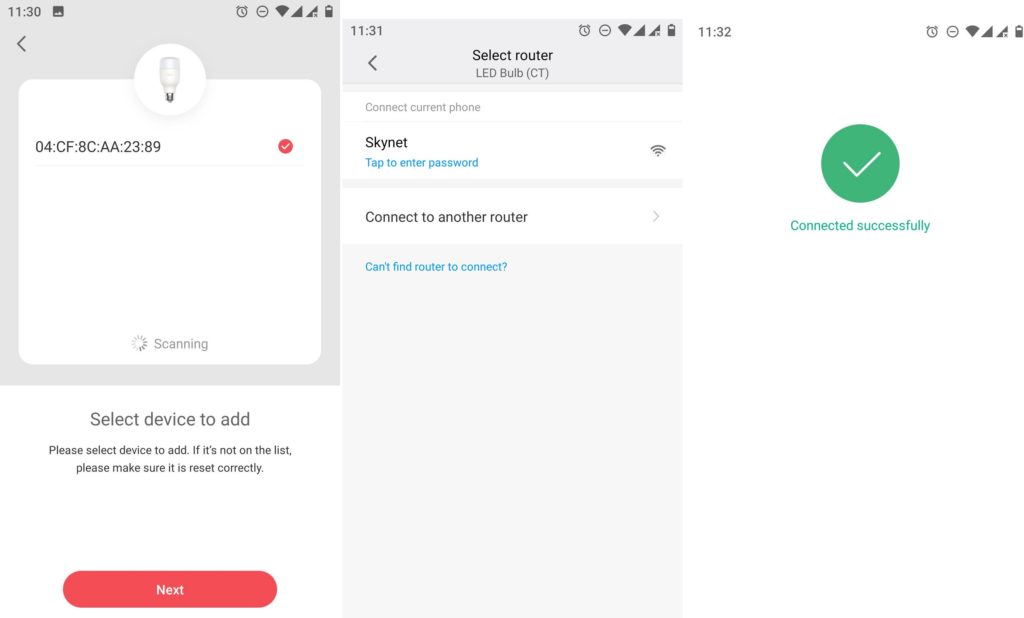
The Yeelight Smart LED Bulb will work same as any dumb bulb out of the box by which I mean you can control it from a switch. But the fun stuff begins once you download the accompanying Yeelight app. Tap on ‘Experience now’ in the app to get started. Select a corresponding region and accept the Terms of Usage and Privacy Policy (after reading them of course). After this, go ahead and create an account. The app will prompt you to sign into Yeelight by creating a Mi account (Xiaomi). Once in, tap on Add Device and then add your smart bulb from a list of Yeelight devices. Ours is the LED bulb (white). The app may prompt you to reset your device to default before you can connect to a network. Basically, you switch the bulb on and off 5 times until it flashes different colors. Click next to go to the next step. Your device will now be visible as a MAC address. Tap on it and go to the next step which is entering the WiFi password. The app will then update your connection status before finishing the process. At this point, you can rename your device. We left it as Yeelight LED Bulb (Tunable) though. Choose a room to place your light (or create one). Lastly, turn on LAN control which executes commands more quickly on the same local network hence avoiding latency and abnormalities. Google Home devices or the app also uses LAN control to process and execute commands more reliably.
Price and where to buy


